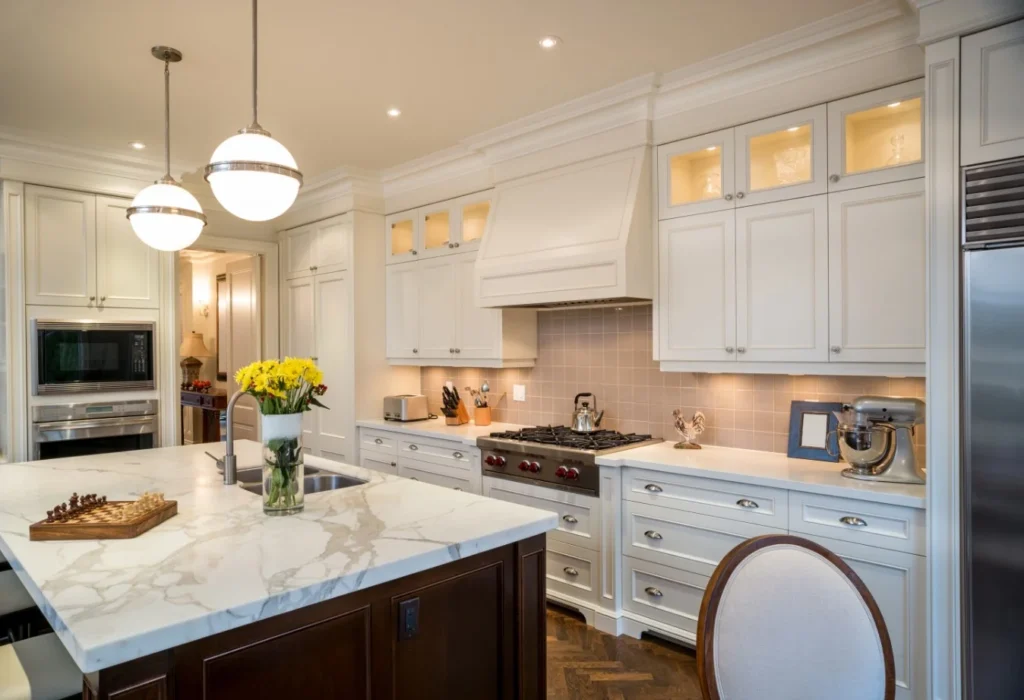
How To Prep Kitchen Cabinets For Painting

You’re here because you want painted cabinets that last. Not cabinets that look good for six months.
You don’t want peeling corners.
Sticky doors.
Or paint that wipes off with a damp cloth.
Most homeowners think cabinet painting is about paint.
It isn’t.
It’s about prep.
I’ve spent over 15 years painting and refinishing cabinets in Charleston, West Virginia.
And I’ve seen the same failure over and over again.
Not bad paint.
Bad prep.
If you’re nervous about damaging your cabinets, that’s good.
It means you’re paying attention.
Let’s walk through how to prep kitchen cabinets for painting the right way.
Without ruining the finish you’re trying to save.
Why Prep Matters More Than Paint
Paint gets the credit, but prep does the work.
Homeowners often ask me, “What paint do you use?” That’s the wrong question. The right question is: what did you do before the paint?
Prep is about 80% of the final result. Paint can only perform as well as the surface underneath it. If the surface is dirty, damaged, or slick, paint fails.
And paint failure never shows up immediately. It shows up months later, which is what makes prep mistakes so expensive.
What “Prep” Actually Means
Prep does not mean sanding everything to bare wood. It does not mean using the strongest cleaner you can find. And it does not mean rushing to get to paint.
Prep means:
Removing grease and oils safely
Preserving the existing finish
Creating surface grip for primer
Letting materials fully dry
Think of prep like a foundation. A house can look great on day one, but weak foundations always show cracks later.
Paint failure is delayed failure. The mistake happens early. The problem shows up later.
The Biggest Prep Mistake Homeowners Make
The biggest mistake I see isn’t sanding. It’s cleaning—specifically, using the wrong cleaner.
Most cabinets don’t fail because they’re old. They fail because their finish has been slowly damaged over time.
Harsh cleaners feel effective. They smell strong and cut grease fast. But they also break down cabinet finishes, leave invisible residue, and soften surfaces over time.
This damage usually happens around knobs, pulls, sinks, and stoves. Paint will not stick to a damaged finish, no matter how good the paint is.
Why Older Cabinets Are More Vulnerable
If you live in Charleston or nearby, your cabinets are probably older. They’re solid, well-built, and made from real wood.
But older finishes weren’t designed for modern cleaning products.
Over time, I see cabinets that look clean but feel sticky and have invisible buildup. Homeowners assume it’s age. It isn’t. It’s chemical wear from years of harsh cleaners.
And you don’t see the damage until paint fails.
Step-by-Step: How To Prep Kitchen Cabinets For Painting
Slow down here. This is where success happens.
Step 1: Empty and Protect the Space
Before touching a cabinet, empty everything, remove shelf liners, and clear countertops.
Then protect the area by covering floors with drop cloths, covering countertops with plastic, and taping off appliances. Prep creates mess, so control it early.
Step 2: Remove Doors, Drawers, and Hardware
Take everything off—doors, drawers, knobs, pulls, and hinges when possible.
Label each piece with painter’s tape showing the door number, cabinet location, and hinge position. This prevents frustration during reassembly.
Step 3: Know What You’re Cleaning Off
Cabinet grime isn’t just dirt. It’s cooking grease, oil vapor, hand oils, old cleaner residue, and dust bonded to moisture. This buildup creates a barrier, and paint cannot bond to barriers.
Step 4: Clean Gently (This Is Critical)
This step causes the most damage when done wrong. You want to lift grease and remove oils while preserving the existing finish—not strip it.
Avoid heavy-duty degreasers, abrasive pads, strong solvents, and “all-purpose” cleaners meant for floors. Gentle cleaning protects the finish and gives paint a stable surface.
Step 5: Rinse Like It Matters
Cleaning without rinsing isn’t prep. After cleaning, wipe with clean water, use fresh cloths, and change the water often.
Leftover residue causes adhesion failure, soft paint, and uneven finishes, so rinse thoroughly.
Step 6: Allow Full Dry Time
This is where impatience ruins projects. Moisture hides in seams, along edges, and inside joints.
Paint traps moisture, and trapped moisture causes failure. Let cabinets dry fully—overnight if needed.
Step 7: Light Sanding (Not Aggressive Sanding)
You are not removing the finish; you’re dulling it. Use fine-grit sandpaper with light pressure and even strokes.
Focus on edges, corners, and high-touch areas. If you see bare wood everywhere, you’ve gone too far.
Step 8: Remove Every Speck of Dust
Dust ruins finishes. Vacuum surfaces, wipe with a damp cloth, and let everything dry again. Tiny dust particles show up fast on cabinet paint.
The Cleaner Story: Cabinets That Looked New After 20 Years
A homeowner once called me convinced her cabinets were done. They were twenty years old, dull, and sticky near the handles.
She assumed paint was the only option. Before discussing color, I cleaned one door—gently.
When she saw it, she stopped me and asked, “Are those the same cabinets?”
They were. Same cabinets. Same finish. Just cleaned the right way.
Her cabinets weren’t worn out. They were coated in residue, and that residue was slowly destroying the finish.
Why Fear Helps You Do This Right
If you’re worried about damaging your cabinets, that’s good. Fear slows you down and prevents shortcuts.
Most failures come from confidence, not caution. Cabinets are different. They live in grease, are touched constantly, and are sealed—not raw. Treat them accordingly.
What NOT To Do When Prepping Cabinets
Avoid these mistakes:
Using industrial degreasers
Soaking cabinet doors
Skipping rinse steps
Rushing dry time
Sanding aggressively
Painting over residue
Every shortcut shortens paint life.
Timeline: What Proper Prep Looks Like
Prep isn’t fast, but it’s predictable.
- Day 1 – Cleaning & Drying: Gentle cleaning, thorough rinsing, and full dry time.
- Day 1 or 2 (Depending on Drytime)– Sanding & Detail Work: Light sanding, edge prep, and dust removal.
- Day 1 or 2 (Depending on Drytime)– Final Inspection: Touch-ups, final wipe-down, and ready for primer.
The Real Benefit of Doing Prep Right
When prep is done correctly, paint bonds better, finishes look smoother, cabinets clean easier, durability improves, and repairs are rare.
Most importantly, you don’t destroy good cabinets trying to improve them.
Want to Know the Cleaner I Trust on Kitchen Cabinets?
Click the button below to get a simple homemade cabinet cleaner recipe that gently removes grease without damaging your cabinet finish. It’s what I recommend homeowners to maintain their newly refinished or painted cabinets.